PJ Bottoms

My 9-year old daughter has really taken off with her sewing. We were out shopping the other day and found some cute flannel on sale at Jo Ann's. We decided to buy some so she could make her little brother new PJ bottoms. All her idea. Sometimes I don't think her brothers realize how lucky they are to have her as their sister!
We got our inspiration from this site. It has great step by step instructions. Below is our interpretation ;)
1. Roll out a piece of parchment paper (just what you use for baking) for the pattern. Place a pair of existing PJ bottoms on the parchment paper and trace adding a 1/2 inch seam allowance on the sides and a 2-inch seam allowance for the top and bottom. Once your pattern is traced, cut it out.

2. Place your pattern on the flannel. Fold your material in half and place the long outside pattern seam along the fold. This will give you one leg of the pants. Do this again for the other leg. If you don't have enough material to fold for your second leg, no problem. Just double your material, pin and cut. Then, with the two "good" sides facing each other, sew the long outside seam together. Now, you have your second leg complete.

3. This is the tricky part. Turn one of your legs right side out and slide it into the other leg which has its material inside out. Be sure to line up all the edges and the flannel is smooth. Below you can see what I mean. If done correctly, when you open the material at the top, you will see that the two "good" sides are facing each other.

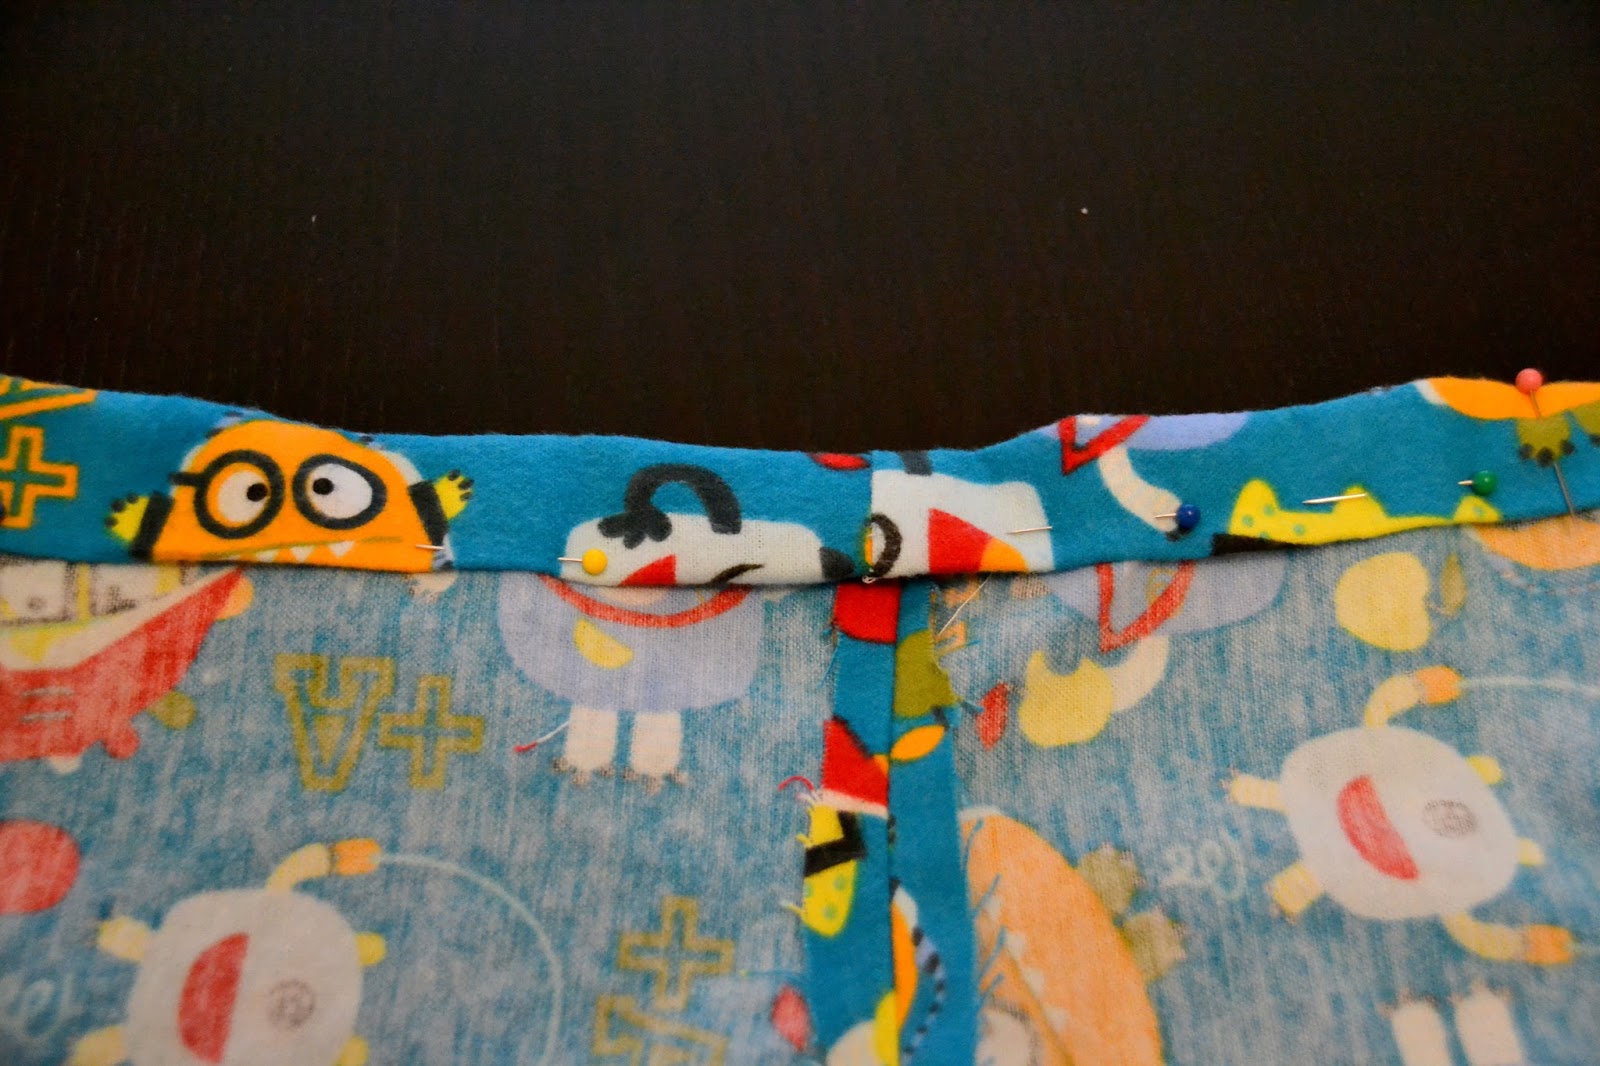
4. Pin the waist/crotch area so it forms almost a U shape with the "good" sides facing each other. Now, sew this U shape.

5. If sewed correctly, your pants will look like PJs when pulling the one leg out of the other after stitched together.

6. Now, it is time to sew the waist. Turn your pants back inside out and iron 1/2 inch of the waist top down. Then, fold over again and iron 1 inch down. Pin this opening and sew along the bottom fold. Remember to leave about a 2 inch opening at the beginning and at the end of this stitch. You will need this area open so you can thread your elastic through.
7. Using 1/2 inch wide elastic, measure the elastic around your PJ bottom receiver's waist and add an additional 3 inches to the length. Cut the proper length. Then, with a safety pin fastened to one end of the elastic, begin working your elastic through your waist opening. The safety pin will help you inch the elastic through the entire waist length. Once your elastic reaches the end of your waist, pull on the elastic so the two ends are the same length. This motion will help gather the waist together. Sew your two elastic ends together before sewing the two waist band openings close. Now, your waist is done!
8. Finally, sew your cuffs. Press and pin your leg bottoms to the desired length and sew around the edge of your fold.

All done! Nothing better than new, cozy PJs!

I love it! I need to start sewing for my kiddos again- thanks for the tutorial.
ReplyDeleteThanks for sharing Zoe! I hope this project is a success for you!
ReplyDelete