How to make a Bench Cushion

One of our last summer projects
was to sew up this bench cushion
for my daughter's bench seat under her bedroom window.
First off measure the size of your space and buy a piece of
high density foam to fit.
We went with a 4" thick piece.
Then cut 2 pieces of fabric one inch longer and one inch wider than the foam top and bottom.
My foam was 19"x 23", so I cut two 20"x 24" pieces.
Next, cut one long piece that is 1inch wider than your foam.
(mine is 4" thick foam so fabric is 5" wide)
And have the length fit around 3 sides of the foam plus add 1 inch.
This figure illustrates cutting a piece that will fit around 3 sides plus add that inch.


If you don't have a long enough strip of fabric to go around 3 sides,
Cut one for the front and 2 for the sides, adding an inch on each piece,
sew together with a 1/2" seam.
Then it should fit the corners of the front, with seam at the corner and on each end having an extra 1/2" of fabric.

I had to do this with mine.
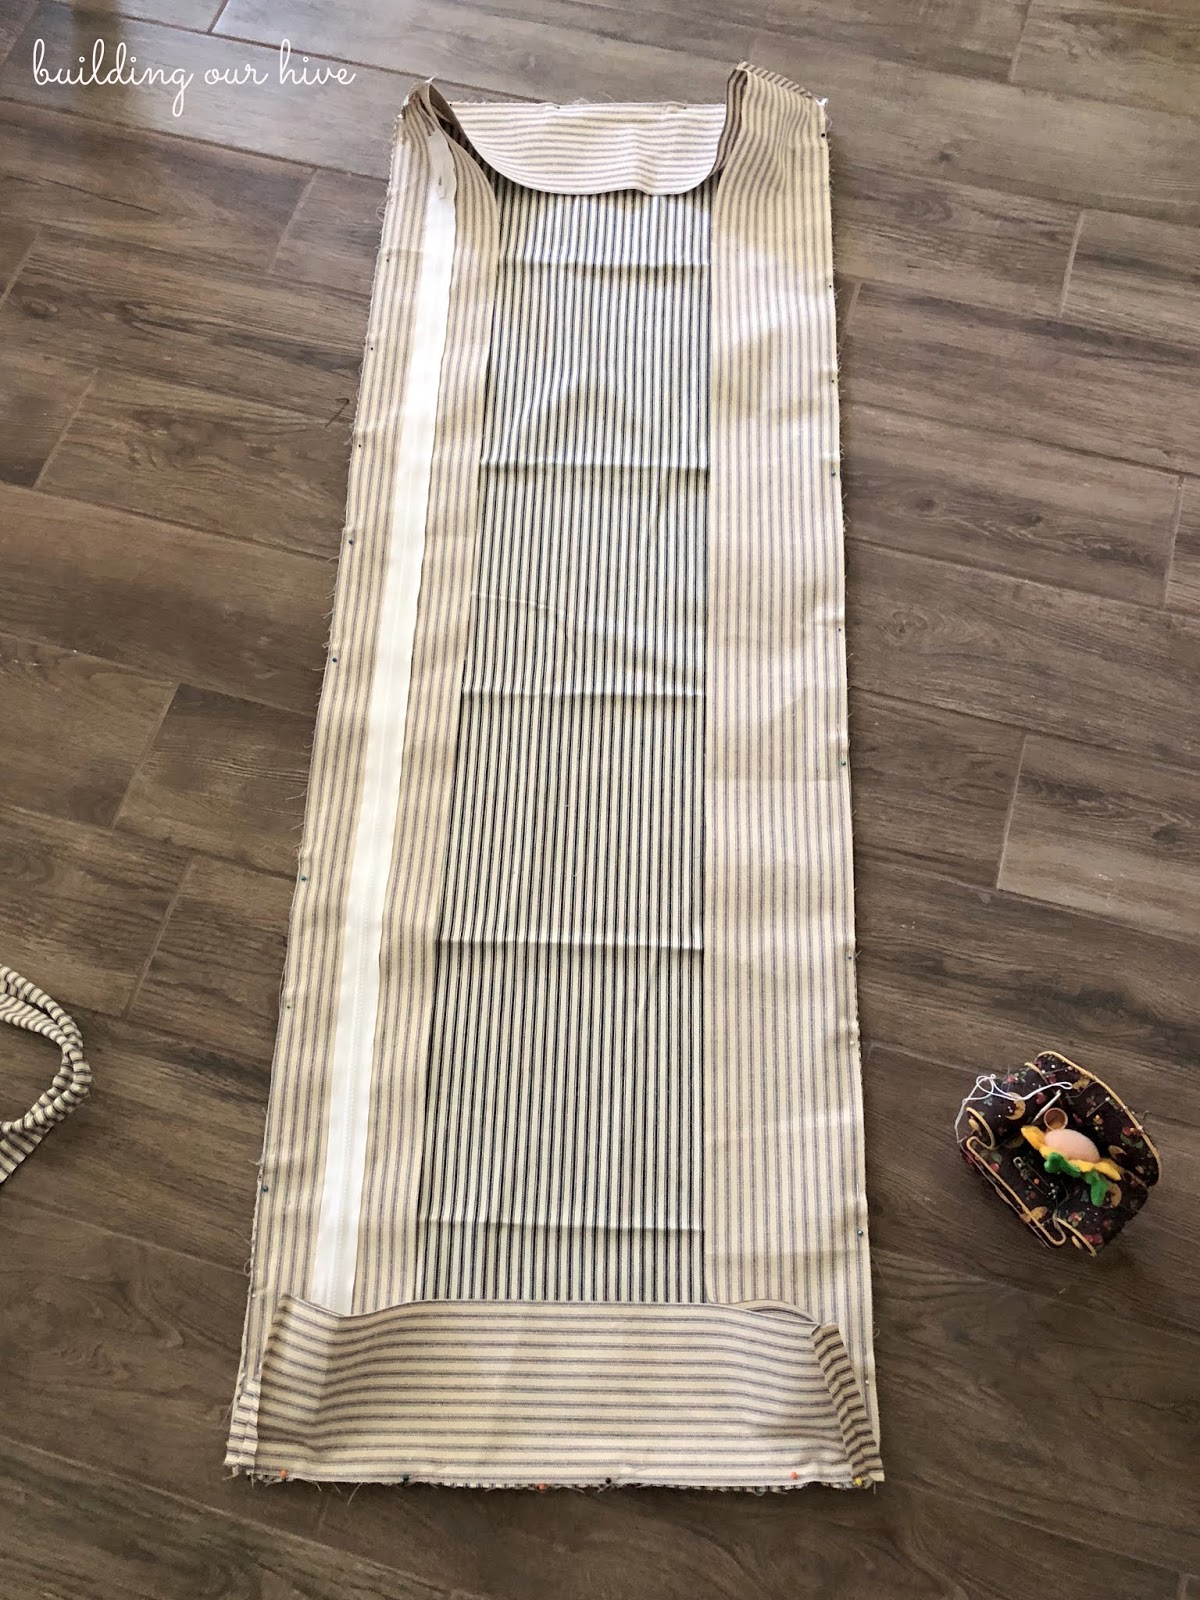
Cut a piece of fabric that will go on the back.
This should be 1" longer in length and 2 inches longer for width. So for my 4" thick foam, I have a 6" thick piece for the back side.
Cut this piece in half down the middle (now I have two 3 inch thick pieces.
Sew these two pieces together with a 1/2" seam allowance, using a basting stich down the middle.
We're going to add a zipper here.
Lots of online tutorials on how to sew in a zipper.
Find the longest zipper you can, that will fit the back of your foam.

Then sew this panel to the others that go around the sides of your foam.
You'll have one big circle of fabric.

We wanted piping along the edges.
For this, buy some cording, cut 3 to 4 inch strips of your fabric, (you want it to go around the cord and to have at least a half inch to inch edge of fabric coming off the cording)
wrap around and baste stich.
Lay the piping on the edge facing in, on one of your top pieces.
(if you aren't using piping, skip this)

Lay it all the way around your top. and join the two ends

by folding over the edge of one end and putting the second end inside the first.
like this...


Now pin your circular side piece on top. Right sides together.
Sew around, 1/2" seam.
Corners are a little tricky,
Sew around it the best you can.
When you turn it inside out...beautiful!

Pin cording along the right side of the unsewn edge of your circular side piece.

Then pin the bottom rectangle piece on, matching edges and right sides together.
Before you totally pin everything up, unzip your sipper about an inch.

Sew. Pull open your zipper and turn the whole thing inside out.
You did it!
Through the zipper opening, squeeze and bend in your foam.

It's lookin' good.
Add some pillows.
And we've to the perfect little reading nook
or maybe gazing out the window.

It was great to get this project done!
My daughter loved how it turned out.
Good luck on your next sewing project!
That looks just fantastic! Love the look of the piping with the stripes going in the other direction! :) Lisa
ReplyDeleteHow much fabric did you use?
ReplyDeleteYou'll have to measure the space you're making the cushion for and buy enough fabric to cover it twice (for 2 sides of your cushion) plus 1/2 yard more just to give yourself a little extra to cover the cording.
Delete