Block Bunny Easter Craft

In the midst of quarantining,
we're getting crafty.
Working on projects we've been putting off
or always wanted to try,
and making a few things for Easter.
Today we've got this cute and easy block bunny.
Super fun for the kids!
Supplies you'll need:
glue gun (and optional E6000)
thin Sharpie
white, black and pink paint/brushes
whiskers
8" piece wide white, ribbon
2"x 3"x 5" wood block with hole drilled at top
cut wood nose
blush/cotton ball
white pompom
We'll be giving some ideas for alternative materials you can use, if these aren't available. ;)

I cut a 5" block from a 2x3x4.
(If this isn't available to you, your kids could even use a small box.)
Sand wood edges and paint it white.
The nose is cut out of 1/4" thin wood, sand and paint pink.
(An alternative nose would be a button or cut a nose out of felt or just paint a nose on your block.)

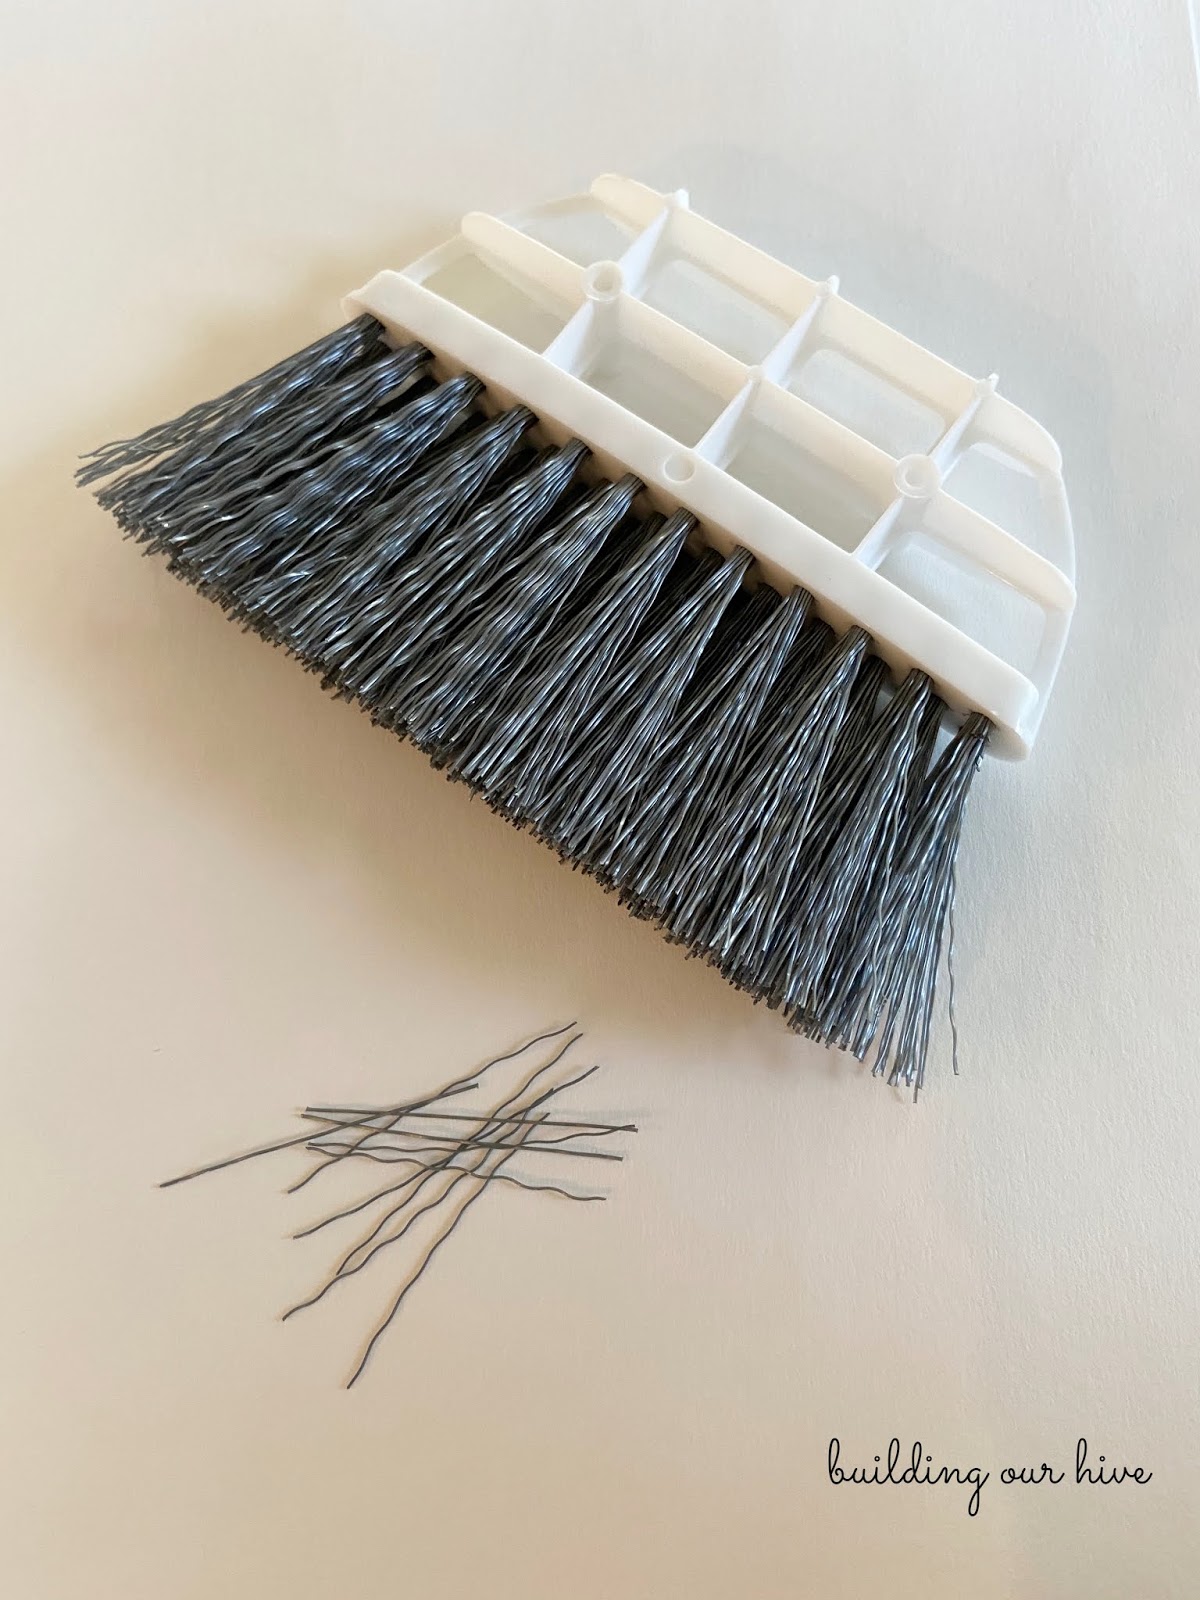
I was looking for something that would be a good whisker
and came across the wavy bristles on this dust broom from the dollar store.
Perfect!
Cut the bristles off for your whiskers.
(Alternative, string, wire or just draw whiskers on with a thin Sharpie)

Heat up your glue gun.
I always like using 2 glues for projects.
Hot glue so it sticks right away
and also a stronger glue for permanence like E6000 or Gorilla Glue.
(However, you can just use hot glue or what ever glue you have on hand.)

Place your whiskers on the block.

Put some E000 on the back of nose. Have nose ready.

Put a dot of hot glue in the center of your whiskers.
They will move around but just put the whiskers in the placement you want sticking in the glue dot.
While glue is still hot, stick on the nose.


Dip the wood end of your paintbrush in black paint.
This will give you a good circle dot for your bunny eyes.
Practice making a few dots first on some paper, just to see how this will work.
Then dot your eyes.


Take the thin tipped Sharpie and draw a line under the nose.

Add some cheeks to your bunny by using your own make-up blush!
Get some blush on a cotton ball, carefully lift the whiskers and rub on the blush.
Perfect rosy cheeks!

Take a white ribbon that is wide and stiff.
I'm using one with a wired edge.
Cute a 8" piece and fold in half.

Cut the loose ends into a point.

Twist the middle of the ribbon and push the twist into a drilled hole on the top of block.
(could also just hot glue the ears on top if you can't drill a hole)

Last step is to glue a pompom on the back for his tail.

He's the cutest little block bunny!
Happy crafting and happy Easter!
This is SO cute. My mom and I mad something similar at a library craft event a couple years ago. I like that it doesn't take too many special skills to make, and what you used for the whiskers is a GREAT idea. Love the little tail too!
ReplyDelete-Lauren
www.shootingstarsmag.net
I'd love to have you come share at Create-it Link Party https://tryit-likeit.com/link-party-it
ReplyDeleteI feel like I need to make this little guy. Cuteness.
ReplyDeleteAdorable!
ReplyDelete